
How to Export and Import Products in WooCommerce
WooCommerce, as a leading e-commerce platform on WordPress, offers a range of tools for efficiently managing your online store. One of these tools is the ability to export and import products, making inventory management and migration between different websites easier. In this article, we’ll explore step-by-step how to perform these operations and what fields are exported along with the products.
Exporting Products from WooCommerce.
- Access the WordPress Admin Panel: Log in to your website and navigate to the WordPress admin panel.
- Navigate to the Products Section: In the left menu, click on “Products” to access the list of products in your store.
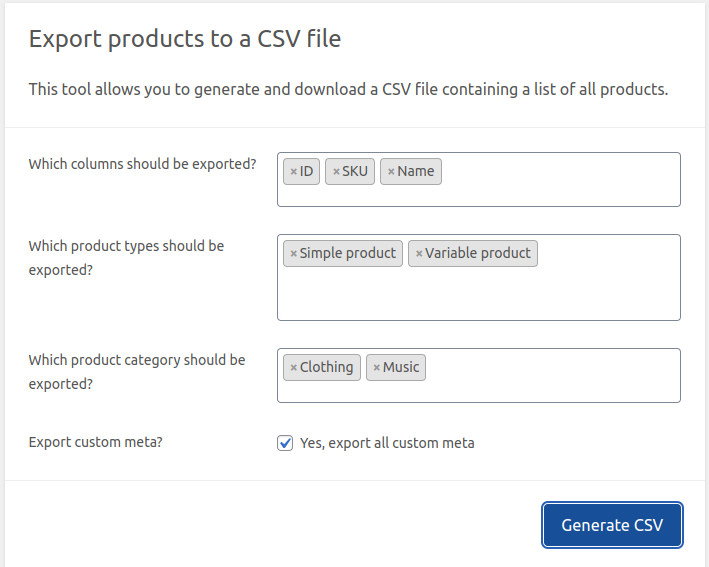
- Select the Export Option: At the top of the products page, you’ll find a button labeled “Export”. Click on it to start the export process.
- Choose the Fields to Export: You’ll be presented with a list of fields available for export. These fields include information such as product title, description, price, stock, categories, tags, etc. Select the fields you want to export according to your needs and preferences.
- Select the Export Format: You can choose between different file formats for export, such as CSV (comma-separated values) or XML. Choose the format that best suits your requirements.
- Initiate the Export: Once you’ve selected the fields and export format, click the “Export” button to start the process. The exported file will be downloaded to your device.
Importing Products to WooCommerce.
- Access the WordPress Admin Panel: Just like in the export process, log in to your website and navigate to the WordPress admin panel.
- Navigate to the Products Section: Click on “Products” in the left menu to access the list of products in your store.
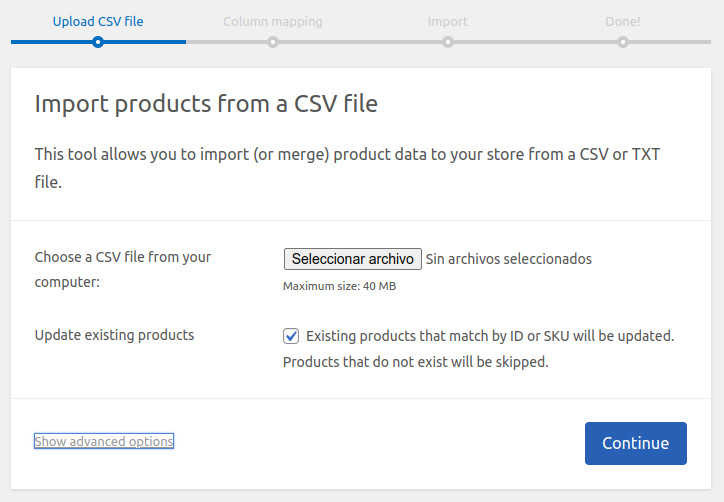
- Select the Import Option: At the top of the products page, you’ll find a button labeled “Import”. Click on it to start the import process.
- Upload the Exported File: Select the exported file you want to import from your device. Make sure to choose the correct format if options are available (e.g., CSV or XML).
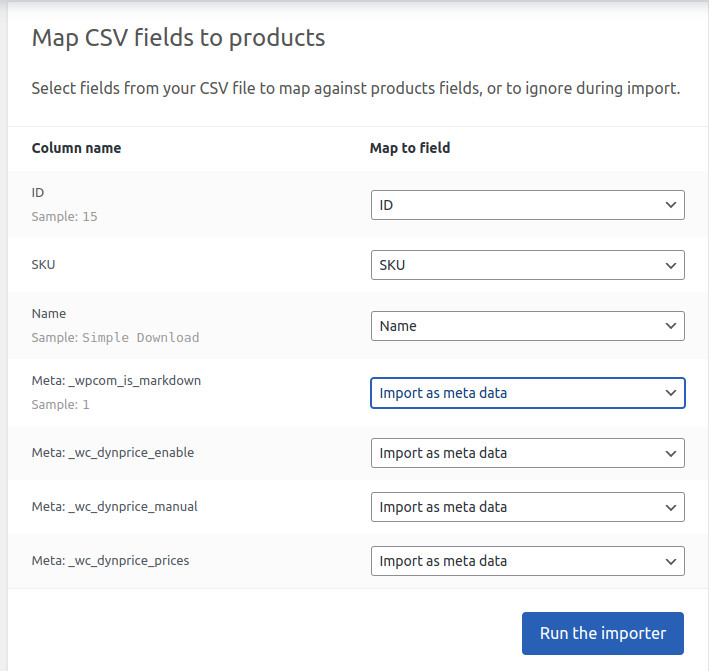
- Field Mapping: WooCommerce will attempt to automatically map the fields in the import file to the corresponding fields in your store. Review these mappings to ensure that the information is imported correctly.
- Initiate the Import: Once you’ve reviewed and confirmed the field mappings, click the “Start Import” button to begin the process. Once completed, you’ll receive a notification about the status of the import.
Exported Fields in WooCommerce.
The fields exported along with the products in WooCommerce may vary depending on your store’s settings and the data you’ve included in your products. Some common fields exported include:
- Product ID: A unique identifier for each product in your store.
- Title: The product name.
- Description: A detailed description of the product.
- Price: The product price.
- Stock: The quantity available in inventory.
- Categories: The categories the product belongs to.
- Tags: The tags associated with the product.
- SKU: A unique stock-keeping unit identifier for the product.
- Images: URLs of the images associated with the product.
These are just some examples of the fields exported, and the complete list may vary depending on your store’s settings and the data you’ve included in your products.
In summary, the ability to export and import products in WooCommerce is a powerful tool for efficiently managing your inventory and simplifying migration between different websites. Take advantage of this functionality to save time and streamline the management of your online store.